Well check me out, I only went and did some actual DIY. High fives over here for making something look (marginally) better rather than just demolishing stuff.
As my mega exciting project was replacing the sealant around the bath maybe my house renovation book deal (new life goal) isn’t gonna happen just yet but hey, it’s some progress.
The bathroom is likely to be the last room I do anything cosmetic with so the embossed vinyl wallpaper in shades of peach and 80s grey and pink tiles are going to be sticking around for a while. One thing that did need doing though was replacing the sealant around the bath.
Ever over-confident in my own abilities I figured this was something I could do and one minor eye injury later it was indeed done.
When I was cleaning the bathroom recently (yeah it happens occasionally) I noticed that the sealant had come away from the bath (though it was still firmly attached to the tiles above). Coupled with a damp smell that didn’t seem to be going away this seemed like a practical project with vaguely good aesthetic benefits too (sounds like the world’s worst online dating profiles).
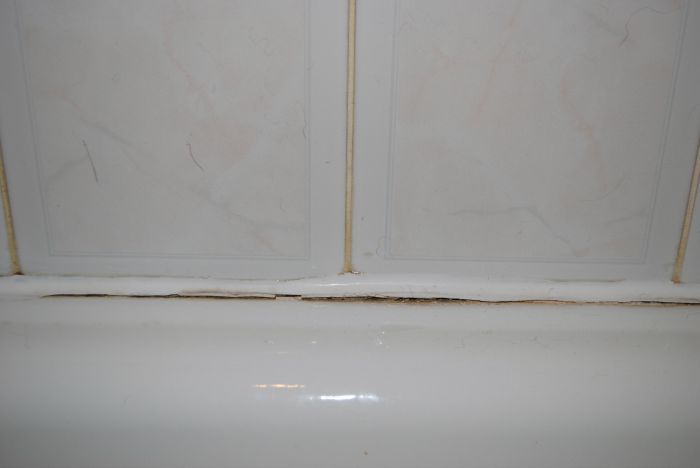
Apologies for how disgusting the grout looks in these pictures by the way, I guess that’s my next job. Sigh.
I headed to B & Q in the pouring rain (that’s not an important part of the story, I’m just proud of how hardcore I am when it comes to small bathroom DIY tasks) and picked up some fast drying sealant, professional masking tape (as I’m basically a pro now) and a scary looking sealant remover scraper thing.
Scraping the old sealant off was easy originally as it had already come away from the bath and my remover tool was handy for stabbing at it. Like all my DIY efforts so far though I got bored very quickly once it became apparent that some actual hard work and persistence would be required. I hate those things.
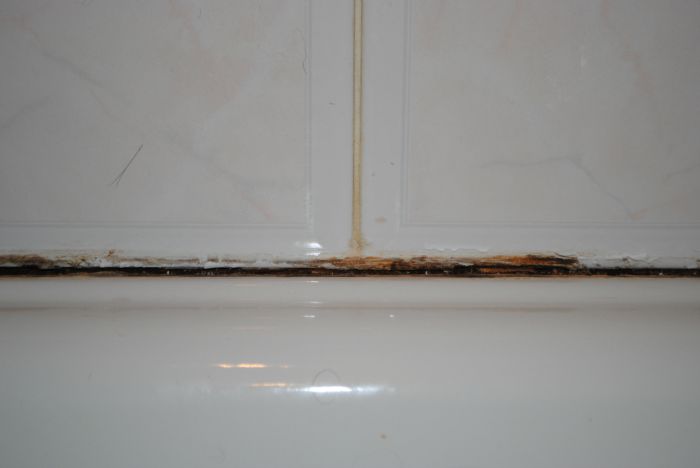
Whatever was behind the sealant was nasty and mouldy and icky and yes I managed to accidentally flick some into my eye. WEAR SAFETY GOGGLES KIDS. Luckily a few days later I don’t seem to have caught sealant germs so that’s looking good (unintentional pun).
Once I’d hacked as much of the old stuff out as I could I put on my fancy blue masking tape to help keep my new sealant neat and straight. I can’t say it was perfectly level but it was good enough for me (plus I was still whinging about flicking stuff in my eye).
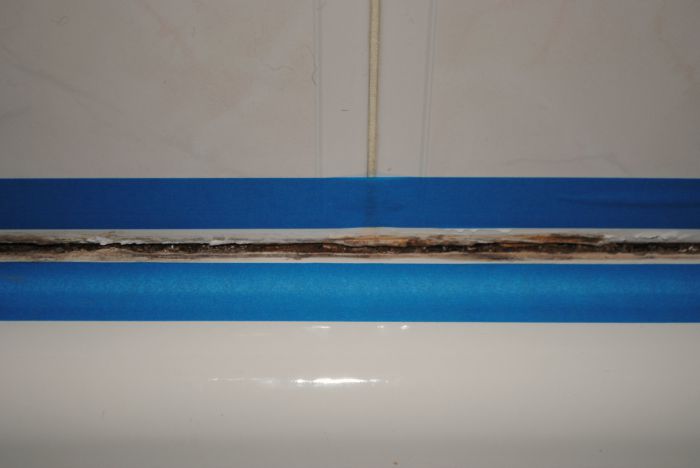
Bizarrely for me I barely googled how to do this (which may have been a mistake) and instead went from half-remembered tips and tutorials I watched ages ago. I filled the bath with warm water to make sure it expanded now so it didn’t crack the sealant when it expanded in future. The internet isn’t completely sure if this is necessary (I later discovered) but I make the rules here.
The sealant itself was pretty gloopy. I used my sealant gun which I love but have not quite mastered so it wasn’t quite as effortless as it looks on DIY shows. I needed quite a fat bead of sealant but didn’t want to hack the top of the tube off too much so I squeezed on a fairly neat layer of sealant (and felt quite smug about it) then went back over it with a decidely less neat layer (less smug).
Because I’d bought quick-drying stuff it wasn’t water-based so I was extra worried about putting it on neatly so I didn’t have to cover everything (and myself) in white spirit to clean up the messy bits.
There are no pictures of this stage as I had sealant all over my hands and was desperately trying to smooth out my slightly freestyle sealant without getting stuck to it. Add to that a cat who is currently obsessed with dripping taps and seemed eager to leave pawprints and/or cat hair in the freshly dried sealant and this was not a particularly good audition for my house renovation TV series (seriously, new life goal).
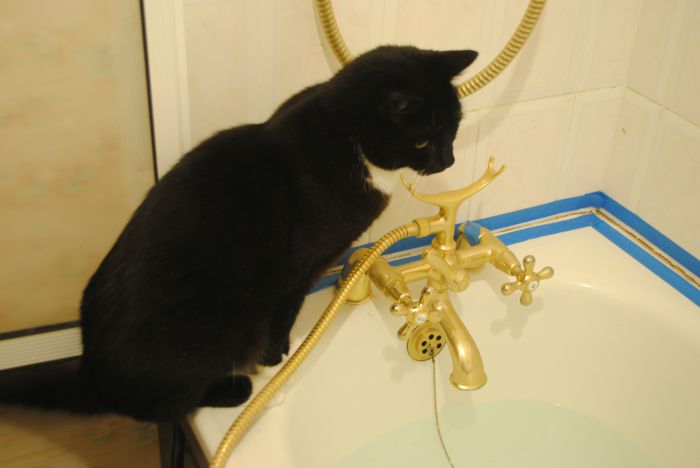
The end of my sealant remover had a curved edge to drag across the sealant to leave a nice consistent finish. With things I like this I find myself saying ‘it’s like icing a cake’ and forgetting that I’m hopeless at neatly icing cakes.
I actually did most of this quite neatly but where I was getting covered in sealant and worrying about getting it on the bath I ended up smoothing it out in a few bursts rather than one single sweep so there are a few uneven bits.
Overall though it looks much nicer (particularly when I look at it without my glasses on!) and should keep the water from getting under the bath and making the room smell!
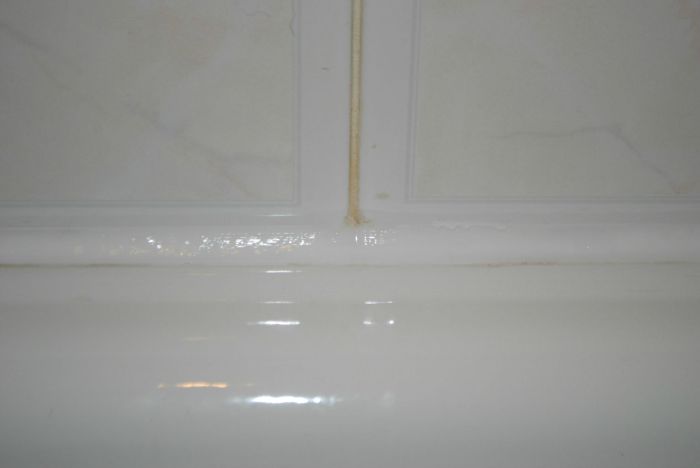
Still need to work on that grout though…
Jo x
